Contents
Open edX is an open source course management system. This guide presents one method of installing Open edX (Eucalyptus) on Linode.
1 Assumptions
1.1 Installed Software Packages
- PuTTY SSH (or other SSH application)
1.2 Accounts
It is assumed that you have a Linode account.
2 Setup and Launching
After logging into the ‘Linode Manager’, click Linodes in the top menu.
On the ‘Select your plan’ page, select a suitable plan – this guide will assume that ‘Linode 4096’ (or better) is chosen.
Click Add this Linode!
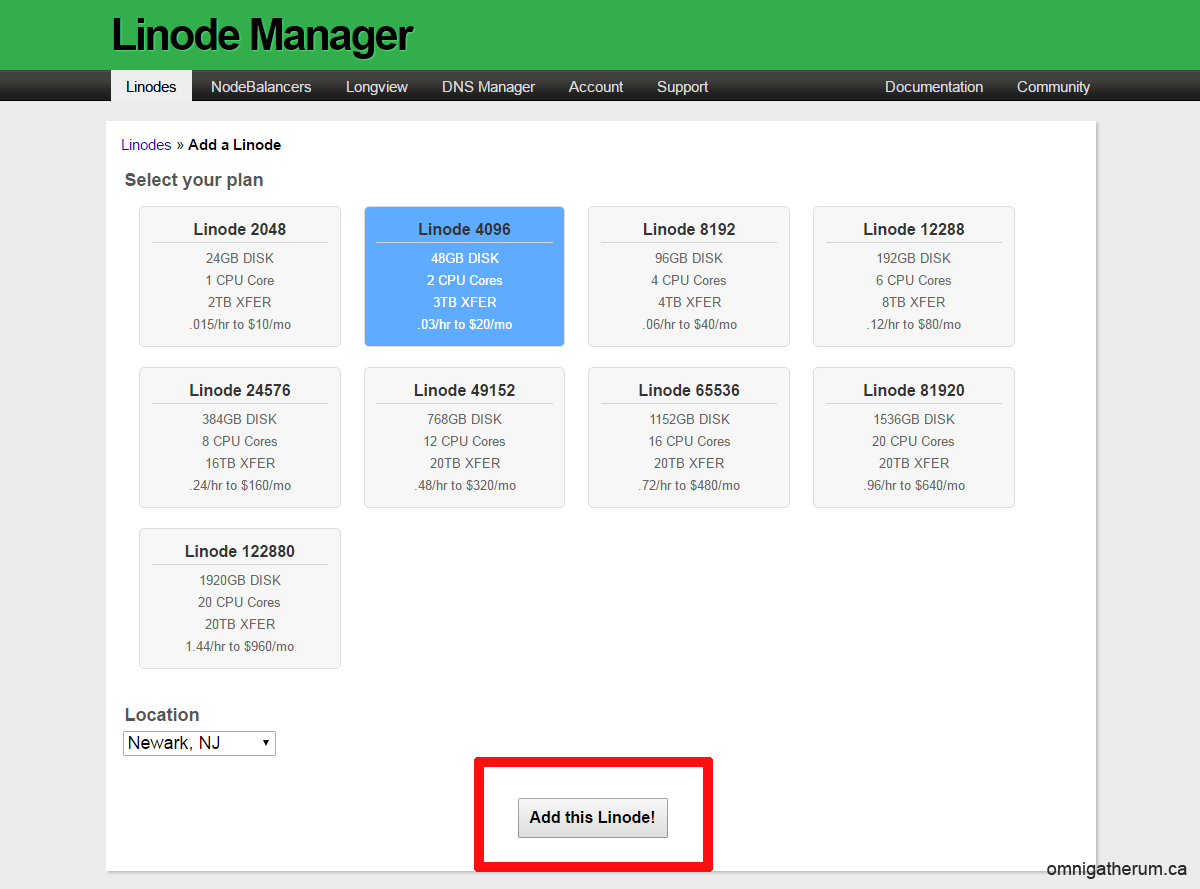
Figure 1: Linode selection page
Back on the Linodes page, under ‘Options’ click Dashboard.
Click Deploy an Image.
For ‘Image’ Ubuntu 12.04 LTS should be selected
Leave ‘Deployment Disk Size’ and ‘Swap Disk’ alone
Enter a suitable password for ‘Root Password’.
Click Deploy.
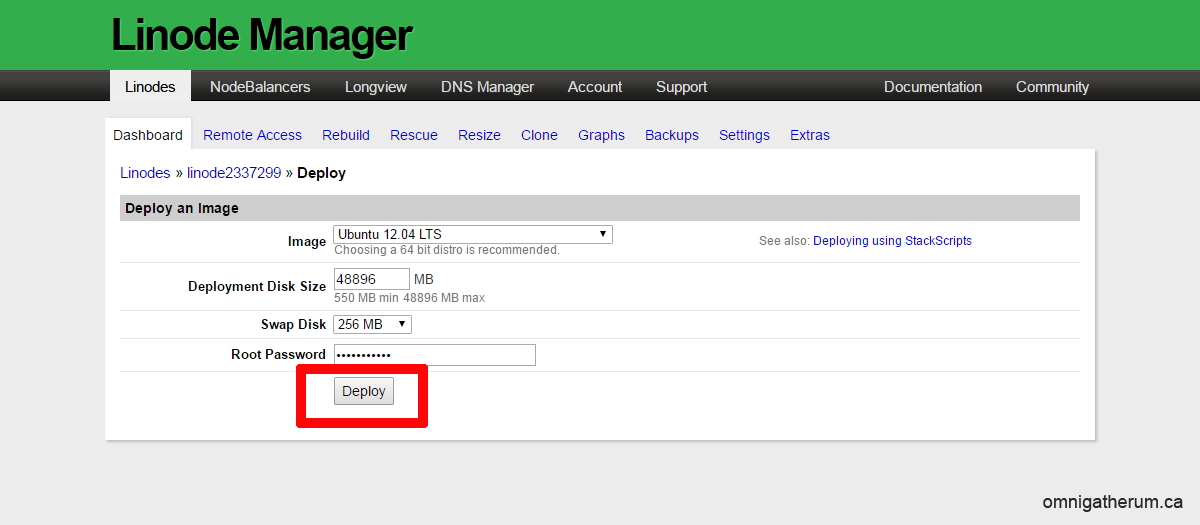
Figure 2: Deploying an image
Once the deployment is complete (as indicated by the progress bar under ‘Host Job Queue’), the configuration profile will appear (under ‘Dashboard’), and the ‘Server Status’ will be set to ‘Powered Off’ (instead of, e.g. ‘Brand New’). You can click Edit under ‘Dashboard’ to makes changes to the configuration profile – for example, changing the label, or adding notes.
Click Boot to launch the Linode.
If a popup appears (as in Figure 3), click OK.
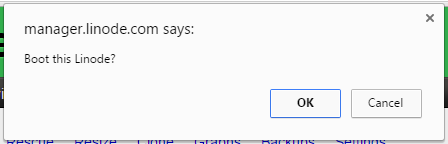
Figure 3: Linode boot confirmation popup
Once launched, the ‘Server Status’ will be set to ‘Running’.
3 Connecting
Open PuTTY (See Figure 4). The program will start in the ‘Session’ section.
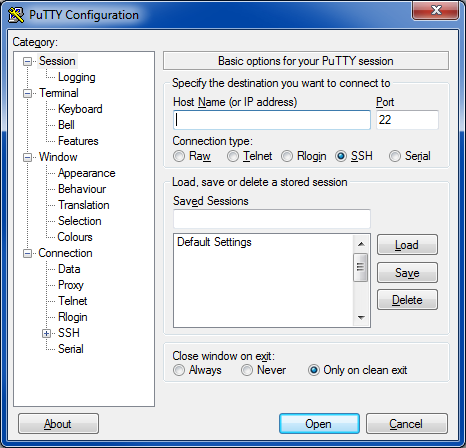
Figure 4: PuTTY interface
Back in the Linode Manager, while in the dashboard for the Linode, click Remote Access. Under ‘Network Access’ select and copy the IP address next to ‘Public IPs’.
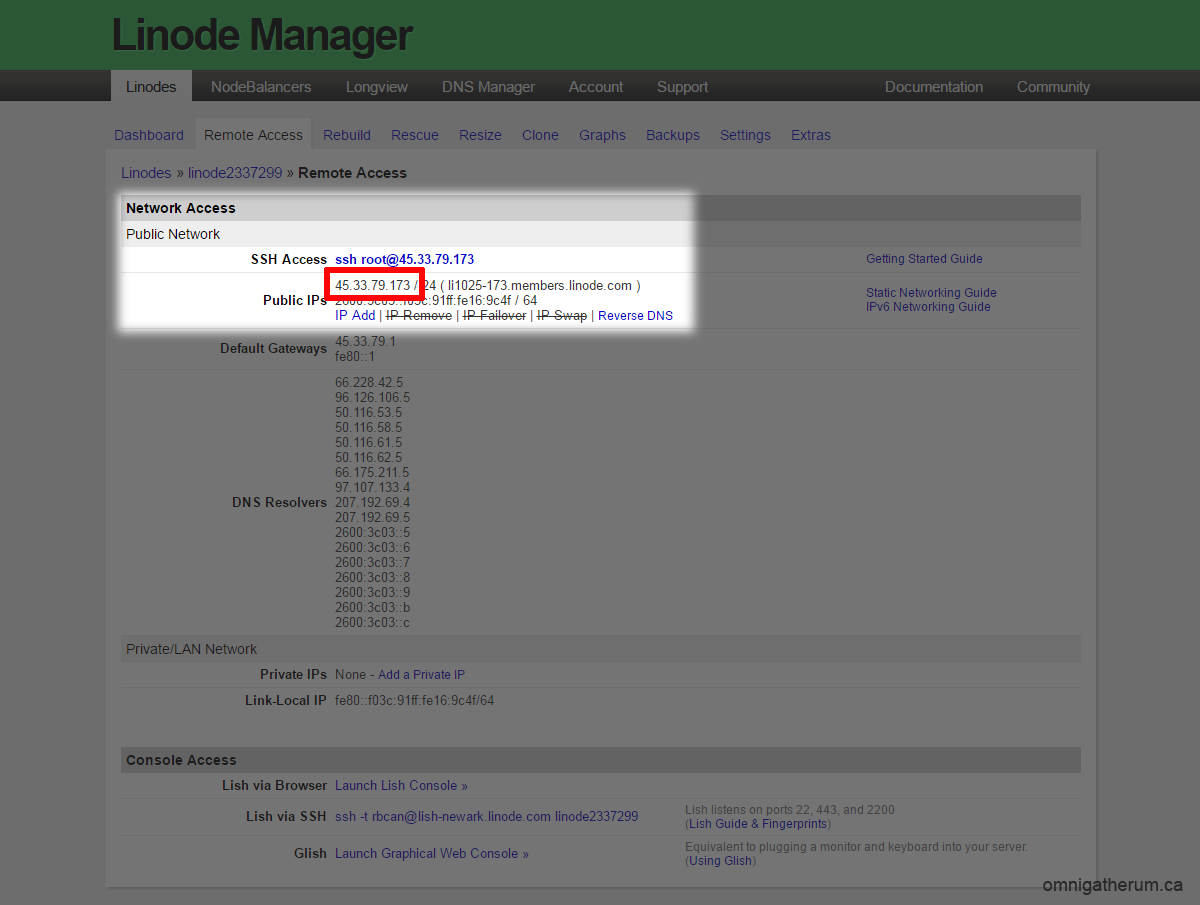
Figure 5: Location of IP Linode IP address
In Putty, paste the IP address into the field labelled ‘Host Name (or IP address)’.
Ensure that the ‘connection type’ is “SSH” and that the ‘port’ is “22”.
To connect to the server, click Open (the red box in Figure 6).
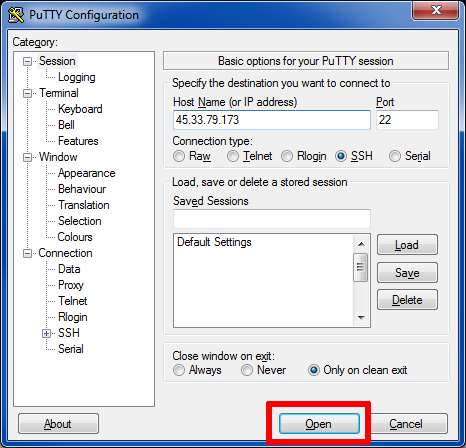
Figure 6: PuTTY with IP address entered
If a warning box appears (i.e. “PuTTY Security Alert”), simply click Yes.
Enter “root” as the username (‘login as’). Enter the ‘Root Password’ that was created during the deployment step.
Once that is done, the terminal should appear as below:

Figure 7: The terminal after logging in
4 Updating
Update the installed operating system (e.g. Ubuntu) by typing:
sudo apt-get update -y && apt-get upgrade -y
Reboot the server by clicking Reboot in the Linode Manager, or by typing the following in the terminal:
sudo reboot
You will likely get an error in PuTTY (See Figure 8) and, if using the Linode Manager, a confirmation popup (See Figure 9). Just click Ok in both cases.
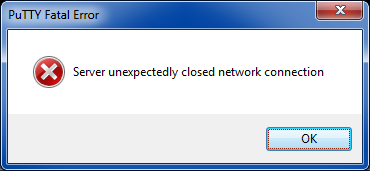
Figure 8: PuTTY disconnection notice
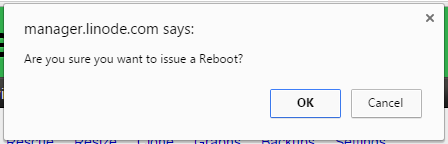
Figure 9: Linode reboot confirmation popup
5 Installing GRUB 2
Using PuTTY, connect to the server again.
Install GRUB 2 by typing:
sudo apt-get install linux-image-virtual grub2 -y
Select the first option (‘/dev/sda’) using the spacebar, then press the tab key to highlight ‘<Ok>’, then press enter.
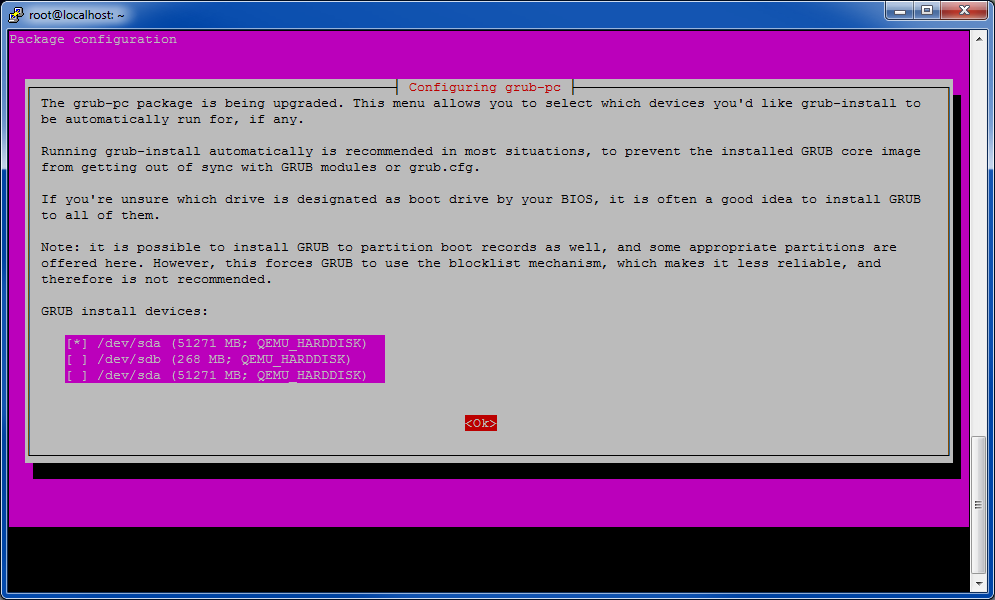
Figure 10: The appropriate selection for GRUB install devices
Edit the configuration file by typing:
sudo nano /etc/default/grub
Change the variables to reflect the following:
GRUB_DEFAULT=0
#GRUB_HIDDEN_TIMEOUT=0
#GRUB_HIDDEN_TIMEOUT_QUIET=true
GRUB_TIMEOUT=0
GRUB_DISTRIBUTOR=`lsb_release -i -s 2> /dev/null || echo Debian`
GRUB_CMDLINE_LINUX_DEFAULT="quiet splash"
GRUB_CMDLINE_LINUX="console=ttyS0,19200n8"

# Uncomment to enable BadRAM filtering, modify to suit your needs
# This works with Linux (no patch required) and with any kernel that obtains
# the memory map information from GRUB (GNU Mach, kernel of FreeBSD ...)
#GRUB_BADRAM="0x01234567,0xfefefefe,0x89abcdef,0xefefefef"

# Uncomment to disable graphical terminal (grub-pc only)
GRUB_SERIAL_COMMAND="serial --speed=19200 --unit=0 --word=8 --parity=no --stop=1"
GRUB_TERMINAL=serial

# The resolution used on graphical terminal
# note that you can use only modes which your graphic card supports via VBE
# you can see them in real GRUB with the command `vbeinfo'
#GRUB_GFXMODE=640x480

# Uncomment if you don't want GRUB to pass "root=UUID=xxx" parameter to Linux
GRUB_DISABLE_LINUX_UUID=true

# Uncomment to disable generation of recovery mode menu entries
#GRUB_DISABLE_RECOVERY="true"

# Uncomment to get a beep at grub start
#GRUB_INIT_TUNE="480 440 1"
Type Ctrl+O to write the changes, then press enter, then type Ctrl+X to exit. Having made changes to the configuration file, type:
update-grub
In the Linode manager, click “Edit” under ‘Dashboard’ to makes changes to the configuration profile.
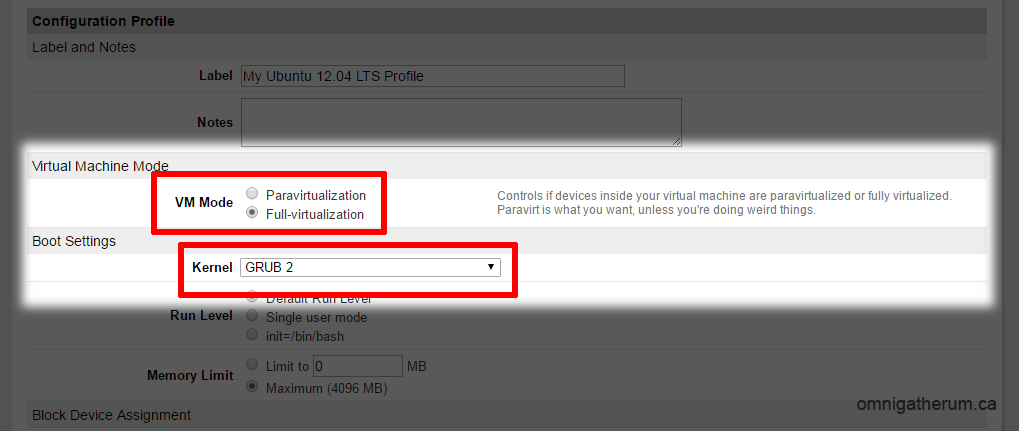
Figure 11: Editing the configuration profile
Under ‘Virtual Machine Mode’, change ‘VM Mode’ to Full-virtualization.
Under ‘Boot Settings’, change ‘Kernel’ to GRUB 2.
Scroll down and click Save Changes.
Back on the Dashboard, click Reboot.
6 Installing Kernel Header Files
Using PuTTY, connect to the server again.
Install kernel header files by typing:
sudo apt-get install linux-headers-$(uname -r) -y
Reboot the server by clicking “Reboot” in the Linode Manager, or by typing:
sudo reboot
7 Installing Open edX
Using PuTTY, connect to the server again.
To find the Git tag for the most recent Open edX release, click here.
The most current release, Eucalyptus, is installed here (git tag: “open-release/eucalyptus.2”).
To install Open edX, first type:
wget https://raw.githubusercontent.com/edx/configuration/open-release/eucalyptus.2/util/install/ansible-bootstrap.sh -O - | sudo bash
It should take a minute or two on a Linode 4096. Errors regarding “pathlib2” and “yaml” can be ignored.
Once that is complete, type:
wget https://raw.githubusercontent.com/edx/configuration/open-release/eucalyptus.2/util/install/sandbox.sh -O - | bash
This will take about 1 hour 30 minutes on a Linode 4096. Errors regarding “mysql-server” and Ruby can be ignored.
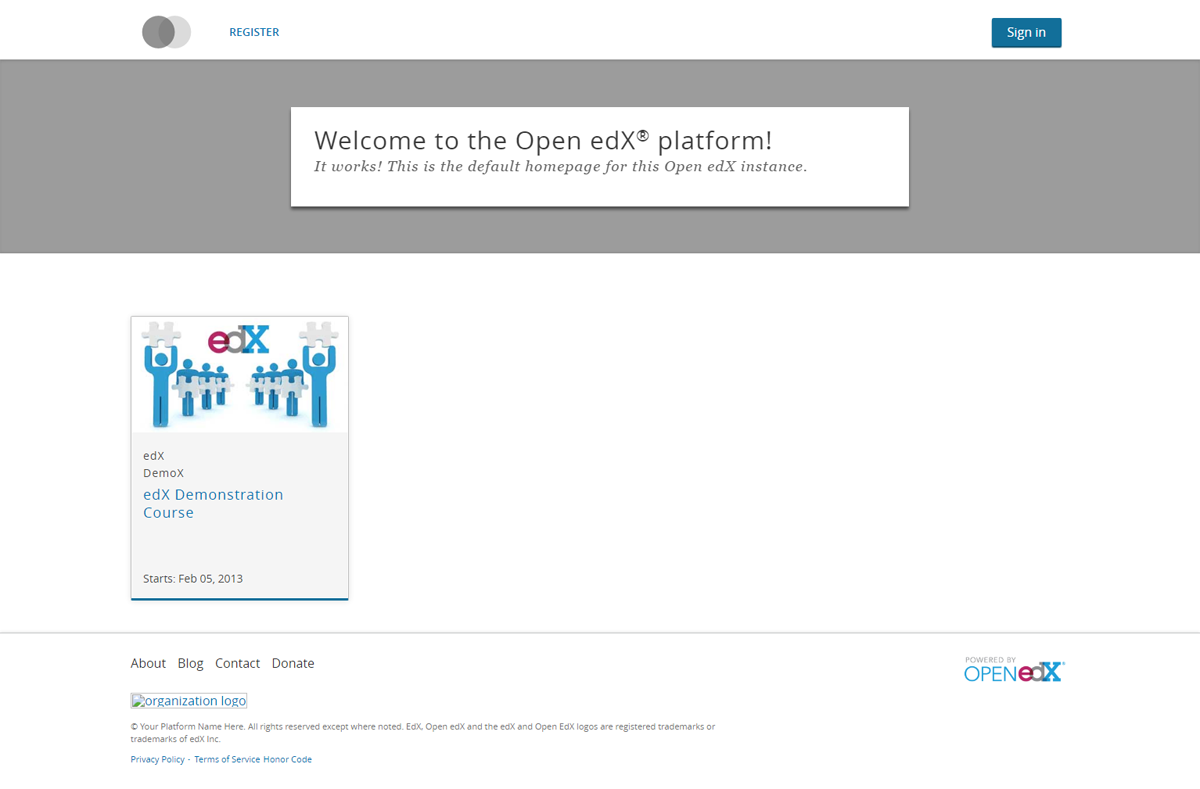
Figure 12: Open edX installed
8 Post-Installation Note
This guide is concerned with installing Open edX on a new Linode. There are, though, other things to consider, such as server security. Consider reading a book like “Linux Server Security” by Chris Binnie to learn more on that particular subject.